Showing posts with label Snacks. Show all posts

Saturday, 10 August 2013

Simon Hopkinson's Kipper Pâté

This recipe is from Simon Hopkinson's book Week In, Week Out. Although I have read this book, usually curled up with a cup of something comforting, many times, I haven't made that many recipes from it- something to do with having too many cookery books and only three meals in a day.


The kipper pâté is possibly the easiest recipe in the book, but it is really delicious. I don't usually do starters, but if I did I think this would be a good one to serve.

You take two pack of vacuum pack of kippers, the sort with a flower shaped pat of butter included. Boil them for half the amount of time recommended, for the packs I had this amounted to 7-8 minutes. Leave them to cool, and then open the packets and slide the contents on a plate or tray with a lip, so the buttery liquid doesn't spill. Scrape off the skin and remove the central bone, and put all the fishy flesh into the bowl of a food processor.
Over the bowl of the processor, put a sieve, and tip the fish detritus and butter into the sieve. With the back of a spoon or similar, press down on the mixture to force as much flavour as possible out.  Pulse to break up the kipper, then add 150g melted butter, 125g cream cheese, the juice of one lemon, and a dash of Tabasco.  Now process until very smooth. Spoon the pâté into ramekins, smoothing the surface over with the back of a spoon. Melt some more butter, and pour over to seal. Place in the fridge for at least two hours. Serve with hot toast, or warm baguette.


Monday, 12 November 2012

Fried Chicken Buns


Finished buns


I do feel more than a little bit of shame that I am posting another recipe that originates from Sunflower Food Galore, but I've had a week where I cooked almost exclusively using recipes from that blog. Hopefully she is of the belief that imitation is the sincerest form of flattery.

I can't ape a dim sum restaurant at home, as there are usually only two eaters and just making a batch of one type will make more than we can eat. If I want the full experience of trying lots of delicious morsels, I do have to eat out. However, I do enjoy the process of making them, especially when I am in the mood for pottering around in the kitchen.

These chicken buns are half fried, half steamed, so you get a golden crispy base, but with a steamed top and filling. We couldn't eat all of them in one sitting; there is something very heavy about dim sum.  I set aside half of the buns, clingfilmed in the fridge, prior to cooking, and had them the following day-they didn't seem to suffer any ill effects from hanging round. Although I would recommend either taking them out of the fridge about an hour before you want to cook them, or cooking on a lower heat than usual, as the chicken filling will take longer to cook if it starts off fridge-cold.


Condiments of choice
Before sealing
Buns before cooking


For the dough:
200g white bread flour
100g plain flour
2 tbsp sugar
¾ tsp of salt
¾ tsp of quick acting yeast
2 tbsp of cooking oil

160 – 175 ml of water
For the filling:
350g chicken breast cut into small pieces (I used thigh as I am not keen on breast)
1 ½ tbsp of grated ginger
2 tbsp light soy
1 ½ tbsp of Shaoshing wine
Pinch of salt
Pinch of pepper
2 – 3 tsp of sesame oil
1 heap tsp of cornflour
2 stalks of spring onion, chopped
Few sprigs of coriander, chopped
Small handful of bamboo shoots (optional), cut into small piece (I left these out)
Few woodears, soaked and cut into fine strips – optional (I left these out)
some water and little oil for cooking

Method

Start with the bread dough: mix the dry ingredients together and add the oil. Gradually add stir in the water to make a soft dough. Knead for five minutes until smooth and elastic. Set the dough aside for an hour to rise.

During the dough's rising, mix all the filling ingredients together.


When the hour is up, tip the dough onto a floured surface and knead briefly. Leave for a few minutes to relax, then divide the dough into 12 equally sized pieces. Take one of the pieces of dough and roll into a ball. Stretch or roll the ball into a 8cm circle. Put a lump of filling in the centre of the circle, and bring the edges together to seal. Dust the bottom of the bun lightly in flour, and set aside to rise. Repeat with the rest of the dough.

Heat a little oil over a medium-low heat in a frying pan that has a lid. Cook the buns in batches- carefully transfer them to the pan, and cook covered for 1-2 minutes. Check one of the buns, and if the base is pale golden, the drizzle 4 tablespoons of water around the buns and replace them lid. Leave to steam for another 2 minutes, once the water has evaporated add another 2 tablespoons of water and cook for about another four minutes. All the water should be evaporated.
Serve immediately.

Wednesday, 17 October 2012

Cherry Tomato Foccacia

This flatbread makes a lovely summery lunch with some feta or goats cheese, and maybe some salad alongside. Like many breads, it takes a while to make, but the level of actual labour is low. Focaccia recipes aren't a new thing to this blog, so I don't post every variation I made. But I felt this was sufficiently different and delicious to merit a blog post of its own.


Ingredients
For the dough:
500g strong white flour
1 sachets dried yeast
2 tsp fine salt
280ml lukewarm water
50ml extra virgin olive oil


For the topping:
250g cherry tomatoes
1 clove garlic, peeled and finely sliced
 Leaves from 10 stalks of thyme, chopped
100ml olive oil
Coarse sea salt, to sprinkle

In a large mixing bowl, thoroughly combine 250 grams of the flour, and all the yeast and salt. Quickly whisk together the water and the olive oil, and stir into the dry ingredients so all the flour is mixed in. Add as much extra flour as you need to make a dough that is only slightly sticky. Tip onto a floured surface, and knead for 5-10 minutes, until it is smooth and elastic. Return to the bowl, cover with a tea towel, and leave to rise until it is doubled in size. This should take about 2 hours.

Once the first prove has finished, punch the dough down and give it another quick knead. Line a baking tray with some baking paper and oil. Roll or press the dough into a rough rectangle, about 1 cm thick, and dimple the surface of the dough all over with your fingers. Leave to prove for another half an hour. Meanwhile, half the tomatoes lengthways. In a bowl, combine with the olive oil, garlic and thyme. Leave aside to macerate. Preheat the oven to 200 degrees C.  After the final prove, spread the oily tomatoes over the surface of the bread, and sprinkle lightly with the sea salt. Place in oven and bake for around half an hour, until golden brown.


Wednesday, 16 May 2012

Halloumi and Spicy Sausage Flatbread

Easier to make then pizza and just as tasty. Good for something to nibble on while watching a film or with drinks. Next day leftovers reheat well with one minute in the microwave.


Makes 2 Flatbreads
Ingredients
For the base

500g strong white bread flour
1 tsp salt
1 sachet yeast (3 tsp)
4 tbsp Greek yogurt
2 tbsp olive oil
approx 350ml lukewarm water
 
For the topping
1 egg, beaten with a tsp of yogurt and a tsp cold water
handful of chopped thyme leaves
handful cherry tomatoes, halved
half a packet of halloumi, thinly sliced
150g spicy salami/ sausage/ chorizo, diced

Method
Mix together the flour, salt and yeast. Beat together the yogurt, oil and water- it will separate, but just mix it up to get rid of the lumps of yogurt. Pour into the dry ingredients, and mix to a dough. Knead, adding more flour or water as required to make a smooth, soft dough. Keep kneading until the dough feels elastic. Form into a ball, and cover with a tea towel. Leave for about an hour, until it has doubled in size.

After the first prove, punc. h the dough down to remove the air (very satisfying). Let it sit for 10 minutes. In the meantime, line 2 baking sheets with some baking paper, or flour generously. Preheat the oven to 200COn a floured surface, roll out half the dough in a rough oval shape (my aesthetic preference) about 5mm thick. Transfer this to a prepared baking sheet, and repeat with the second half of the dough. Brush the egg-yogurt mix over both the bread bases, sprinkle over the thyme. Evenly distribute the toppings over the two unbaked flatbreads, then place in the oven and bake for 10-15 minutes until they are golden and puffy.

Friday, 11 May 2012

Nigella's Cornbread


Ingredients
175g cornmeal
125g plain flour 
45 g sugar 
1 fat pinch of salt
 1 tbsp baking powder
 1 egg 
45 g melted butter  
250 ml full fat milk 


Method
Preheat the oven to 200C, grease a square tin, or other suitable receptacle. I used a 20cm cake tin for the cornbread in the picture. Beat the egg into the melted butter along with the milk. Stir in the dry ingredients, just enough to combine. Don't worry if it is a bit lumpy. Scrape into the tin and bake for about 20 minutes, until it is a deeper golden shade and pulling away from the sides slightly.

Monday, 9 April 2012

Buffalo Wings


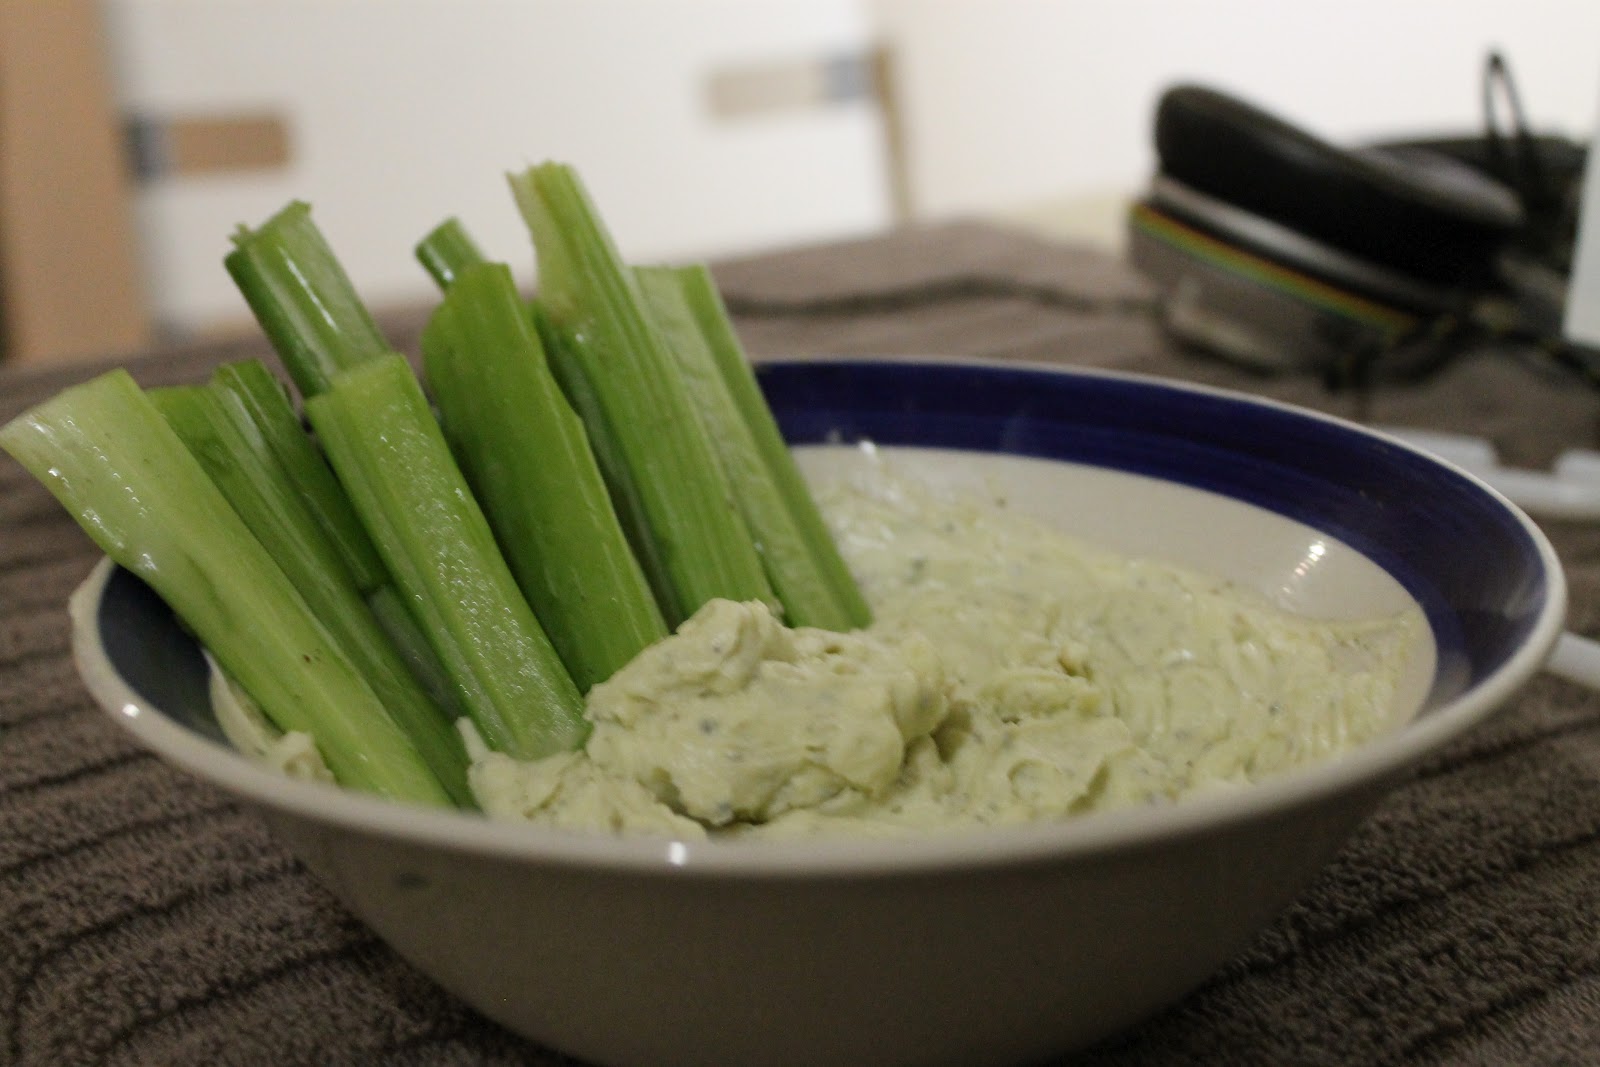
These are delicious, spicy, juicy, messy morsels to be eaten from a shared plate with your fingers. The sauce that turns fried chicken wings into buffalo is just butter, vinegar and hot sauce, but somehow it works. Alongside you have celery sticks and a blue cheese dip to cut through the richness. The leftover chicken flavoured oil is great used for the roux in gumbo.
Ingredients
1-1.5kg chicken wings
50g plain flour
1 heaped tsp salt
freshly ground black pepper
pinch cayenne
Vegetable/groundnut oil for deep frying
Sauce
4 tbsp unsalted butter
Hot sauce (Tabasco or otherwise). Start with 2 tbsps, add more to your liking.
2 tbsp red wine vinegar
Blue Cheese Dip
75-100g blue cheese
4 tbsp creme fraiche
1 tbsp olive oil
few drops red wine vinegar
1 tsp mustard powder
Celery sticks, to serve

Method
For the blue cheese dip- either mix all the ingredients in a blender, or mix by hand crushing the blue cheese with a fork. Put in the fridge until you are ready to eat.
Heat the oil in a large saucepan, put the oven on a low heat. Mix the flour, salt, pepper and cayenne in a large freezer bag. Put the chicken wings in the bag, and shake hard to coat. Deep fry in batches for 8-10 minutes until pale golden. Remove with a slotted spoon, keeping the cooked ones warm in the oven until they are all cooked. During the cooking time, melt the butter and stir in the hot sauce and vinegar. When all the wings are cooked, put in a bowl and coat with the sauce. Serve immediately with the celery and blue cheese dressing and some kitchen roll for chickeny fingers.

Friday, 6 April 2012

Dhal Stuffed Paratha

I made these with leftover tarka dhal. They make a good supper or snack with Indian pickles and raita, served straight from the frying pan.


Ingredients
500g chapatti/ atta flour, plus extra for dusting
pinch salt
1 tsp vegetable or other flavourless oil
about 300ml water, enough top make a soft dough.
Leftover dhal- it needs to have a dryish texture
Melted ghee, a few tablespoons.

Method
Mix the flour with the salt and oil. Slowly stir in enough water to make a soft dough. Cover and leave for about 30 minutes.
Divide them into 8-10 pieces. Dust some flour onto a board, and roll one piece into a 7cm circle. Put a tablespoon of dhal in the centre. Gather up the edges of the dough to the centre and form into a ball again. Re-roll out to a 16cm circle. Repeat with the other pieces of dough.


Heat a griddle or heavy based frying pan. Put an uncooked paratha in the pan. Turn in over after a minute, and brush with ghee. Turn over again, a brush the other side with the ghee. Turn it over a few times while cooking, it should be golden brown and crispy on both sides when ready. Repeat with the rest of the uncooked paratha.

Tuesday, 28 February 2012

Garlic, Chilli and Parmesan Flatbread

This is a far superior garlic bread than the sort you can buy ready made, with a focaccia base and the added bonuses of chilli and cheese. I do like the 'normal' sort of garlic bread, when it is homemade and a generous hand has spread the garlic-parsley butter between each slice of baguette. It's certainly the best way of transforming the reduced French sticks at supermarket closing time. This version takes a little more time as you are making the dough from scratch, but it hardly takes any more effort, just a little mixing and kneading. The common factor is the butter, and it is important for delectable garlic bread. Although this doesn't quite constitute a meal, it is just the sort of thing that goes down well to eat while watching a film, or just having drinks and conversation with friends.

Ingredients
For the dough:
300g strong white bread flour
1/2 sachet yeast (about 1 1/2 tsp)
tsp salt
300ml warm water
2 tbsp olive oil
To top:
50g unsalted butter, very soft
2 cloves of garlic, very finely chopped or crushed
2 tablespoons Parmesan, grated
pinch chilli flakes
pinch sea salt

Method
Combine the flour, salt and dough in a large mixing bowl. Mix the water and oil in a measuring jug, and pour into the dry ingredients. Mix to make a dough. Knead for 5 minutes, adding more flour if necessary.  It should be a soft elastic dough. Leave to rise until doubled in size, about 2 hours.
Preheat the oven to 200C. Flour a 20cm x 30cm baking sheet. When the dough has risen, punch down it down and knead again, for about a minute. With a rolling pin, your hands, or a combination of both, flatte the dough to a rectangle that fits the baking sheet, it should be about 1/2cm thick. Leave to rise for another 30 minutes. Mean while, mix together the butter, garlic, chilli, Parmesan and salt. When the 30 minutes is up, spread the flavoured butter all over the surface of the dough. Bake for around 25 minutes, until it is golden. Best enjoyed while still hot, or at least warm

Thursday, 16 February 2012

Anchovy, Black Olive and Gruyère Scones

There's been a lot of sweetness on this blog recently, giving me cravings to make something resolutely savoury. This isn't a recipe where the anchovies melt mellowly into the background, so if you don't like salty little fishes, this is not a recipe for you. All the flavourings work together, but they stand out individually too making the scones rather addictive.
The basic scone recipe is from Nigella's How to be a Domestic Goddess, an apt title for scone-making. It uses 4.5 tsp of cream of tartar which seems a lot, but it makes them come out incredibly light. Like in pastry making, gentle handling of the dough is required to avoid heaviness. You could use a freestanding mixer to work the butter into the flour, but there are so few stages in the recipe I'd feel I was excluding myself from making them. For me, it doesn't seem quite right, not making scones by hand. They have a charming old-fashionedness to them that doesn't sit with electrical appliances, even with this more modern take on them. I have the same attitude to making cakes and crumble topping, but not with pastry, where the sharp steel blades of a food processor do a better job than my hot little hands ever could.
 I think these make a nice weekend lunch if you are pottering around at home with the urge to bake something. With some butter and more Gruyère, maybe a few cherry tomatoes on the side, you've got the makings of a nice little meal. On colder days, these would be fantastic to have on the side of a bowl of soup.

Ingredients
500g plain flour
1 tsp salt
2 tsp bicarbonate of soda
4 1/2 tsp cream of tartar
75g unsalted butter OR 50g unsalted butter + 25g vegetable shortening, cubed
40g (about 12) black olives, stoned and chopped
100g grated gruyere
6 anchovy fillets, drained (or desalted) and chopped
300ml milk
1 egg, beaten, for glazing

Method
Preheat the oven to 220C and line a baking tray. Sift together the flour, salt, bicarbonate of soda and cream of tartar. Rub in the fat with your fingertips until you have a mixture resembling breadcrumbs. Mix in the anchovies, olives and cheese, and then stir in the milk. Just mix it enough so it just combines- when the dough starts coming together, press it into a ball with the palms of your hands. Place the dough on a floured surface, and roll out to 2.5cm height. Cut out rounds with a 5cm pastry cutter. Place gently on the baking tray and brush each of them with the beaten egg. Bake for around 15 minutes, till risen and golden.


Saturday, 20 August 2011

Spring Onion Pancakes/Chong Yao Beng


Despite a banal ingredients list, spring onion pancakes are great when done right- soft and crisp, hot and oily, similar to paratha. Restaurants serving dim sum will normally have them on the menu. They are really cheap and easy to make at home too, where you have the benefit of being able to eat them at their peak, straight out of the pan.

The pancakes could be made as an addition to a larger Chinese meal, or as a snack served with condiments alongside. I like chilli oil, toasted sesame oil or sometimes just on their own, sprinkled with some flaky sea salt. In this instance, I made them to go alongside the sweet potato soup, which I know is lacking in any authenticity whatsoever. But I was cooking for myself, so was not tied by such constraints, or felt obliged to explain the pairing to any would-be food critics. The important thing was that they went nicely, as I thought they might.

Ingredients- makes 4
150g plain flour
125ml water
salt
4 spring onions, finely chopped
4 tbsp flavourless oil- vegetable, sunflower or groundnut 

Method
Put the flour in a bowl with a pinch of salt, mix in the water to make a dough. You may need a little more flour to make it less sticky, but it should be very soft. Divide into 4 pieces.
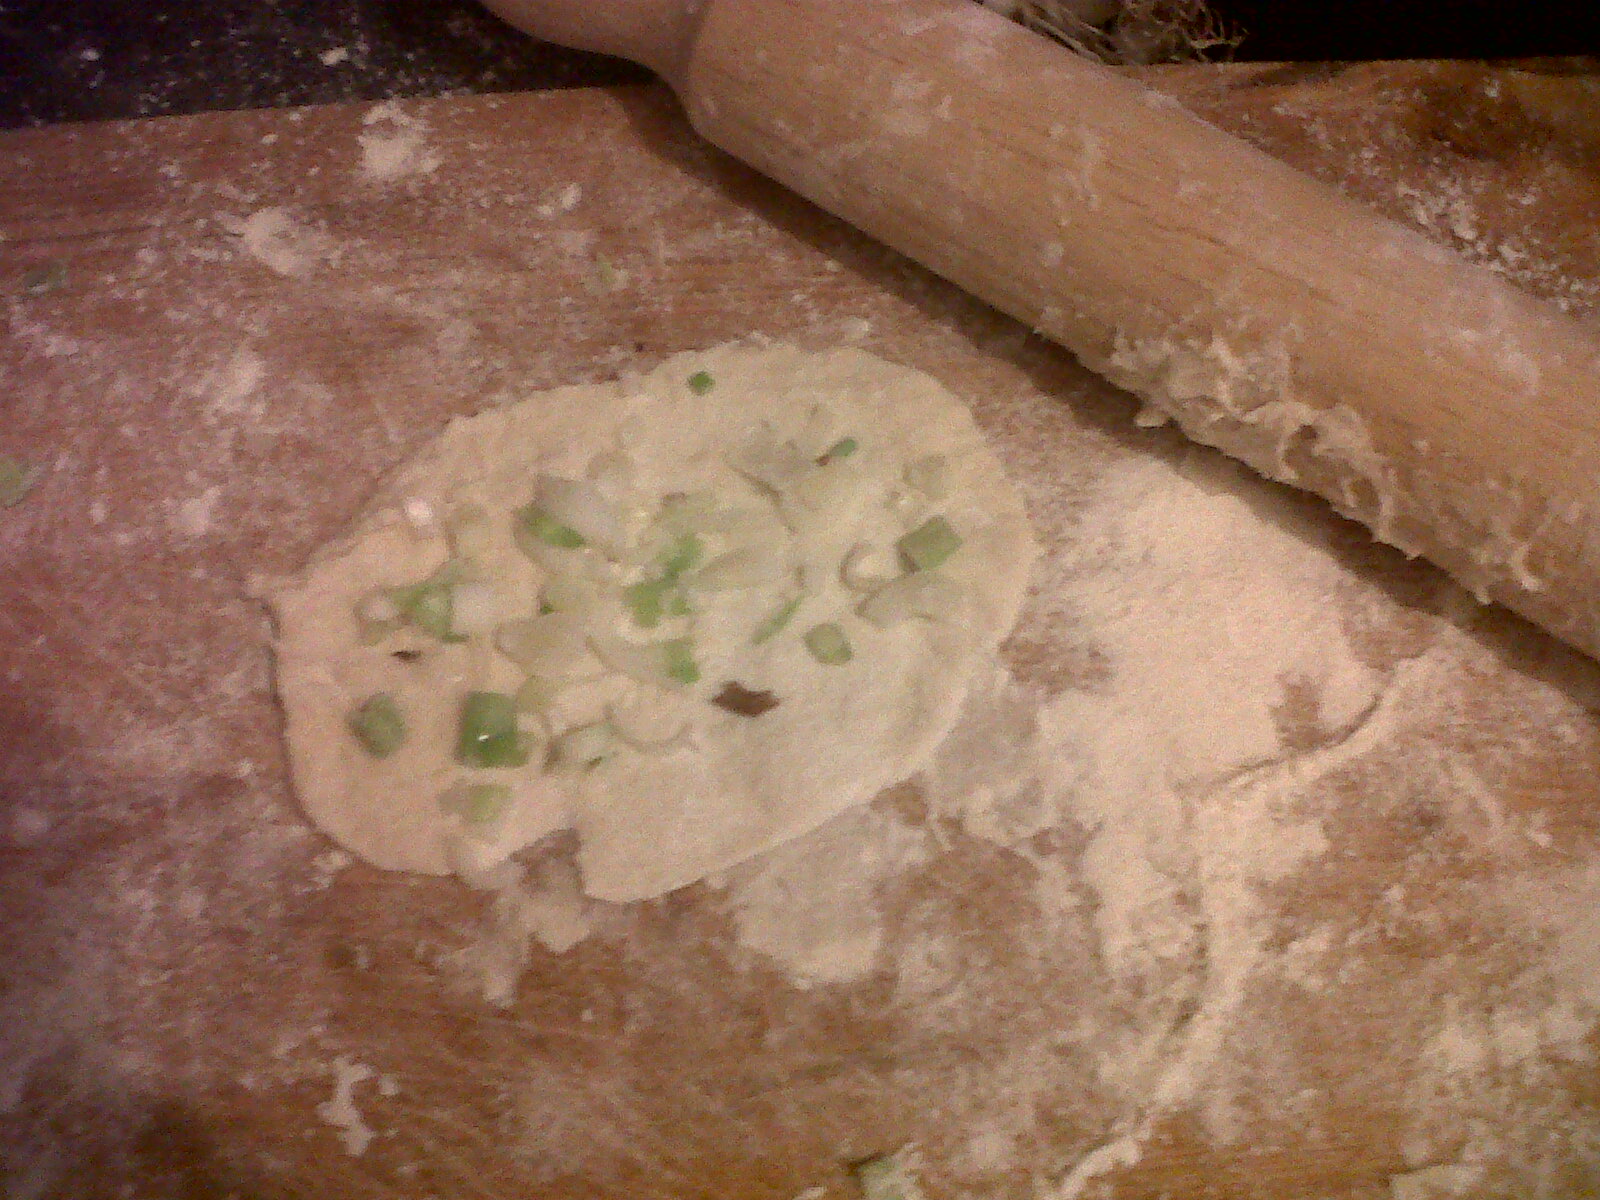
Flour a board and rolling pin. Roll out one of the dough balls as thinly as you can into a rough circle. Sprinkle over a quarter of the chopped spring onion with a small pinch of salt. Roll up like a sausage, and then roll this into a snail. Flatten the snail with your hand to push the coils altogether, reshape a little with your hands to make a circle. I made them about 10cm in diameter. Repeat with the remaining three pieces of dough.

Heat the oil over a medium heat in a frying pan. Put in the uncooked pancakes, and fry on each side until golden brown and crispy on the outside and chewy in the middle.