Showing posts with label Deep Frying. Show all posts

Thursday, 16 October 2014

Beignets

I love reading and learning about Louisianan food, but I haven’t cooked that many dishes from the state. I now make a gumbo without a recipe, feeling comfortable enough to make any changes and tweaks as the mood suits me. I’ll occasionally cook a jambalaya, but will usually refer to a recipe. I have made an attempt at doberge cake, an extravagant layered chocolate confection which I think most people would buy in rather than make at home. It was delicious, but is quite a labour-heavy experience to make.  I have made a pecan pie, using the filling recipe from The Gumbo Pages although that’s not exclusive to Louisiana.

My latest addition to this list are beignets- the state doughnut of Louisiana (as an aside- I love the idea of an official state doughnut, although after reading this article, sadly I don't think there is a doughnut per state). Beignets can be made with a choux pastry or a yeast-leaved dough. I made the latter. I think the place to get beignets in New Orleans sells the yeasted type (I could be wrong about this though). I will have to try the choux pastry version too though, to complete my beignet education. 


The recipe I used was from Taste and Tell Blog (scroll down to the bottom of the page for the recipe). They were definitely a success, except for the first 2 I made which were a little uncooked in the middle- I don't own a thermometer for deep frying.


My favourite thing about this recipe is that once you have made the dough, you can keep it in the fridge for up to a week with no ill effects. So whenever you fancy a treat, you can tear off enough dough for a beignet or two, and cook it to order. Like most deep-fried foods, it’s best to eat them fresh out of the pan rather than letting them sit around.

Being able to keep a ball of the dough in the fridge and cook in batches over the week helped me gain a better feeling for when the oil was hot enough to put the uncooked beignet in the pan, and tell when it was ready to be taken out. It also gave me more opportunities for experimentation, such as making a chocolate and salted caramel dipping sauce. This was my only deviation from the recipe, but there is a lot of scope for new ideas. Having said that, a plain beignet, liberally dusted with icing sugar is a wonderful thing, and doesn’t require anything else- except maybe some coffee alongside.


Friday, 13 December 2013

Crispy Pata and Atacharang Papaya

I first had crispy pata about 6 years ago in a pub in Kenilworth, The Famous Virgins and Castle, which has a half English, half Filipino menu. For those who aren't aware of the delights of crispy pata, it is a deep fried pork hock. It should have a rich brown skin that snaps when you break it (like the savoury equivalent of the top of a crème brulee), and very tender flesh. It's rich, fatty, and the meat in almost gelatinous in place, and you'll need a lie down after eating.
The Famous Virgins and Castle serve the pork with rice and atcharang papaya. I only ever have a few mouthfuls of rice, or I fill up and can't eat all my pata, which would be a terrible thing indeed. Atacharang papaya is a pickle, made with unripe papaya. It is sweet and sharp and cuts through the fatty pork very well.
Crispy Pata has to be the most terrifying dish I have ever cooked. I don't think I'll be making it again without a deep fat fryer, and even then, I'm not sure it's worth the clean up and the terrifying noises of the pig skin blistering and popping. I'm glad I attempted it, but I think it'll be a dish that I'll order in restaurants rather than make at home.

Atacharang Papaya
You need to know if you want atacharang papaya a few days before you eat- it improves with a little time. Every recipe I looked at specified the importance of using green, unripe papaya. Luckily, that was all I could find in the supermarket anyway.

1 green, unripe papaya
1 tbsp salt
4 cups vinegar
4 cups sugar
5-10 shallots (the recipe I was using this a base for specified red shallots- I could only find regular ones, and used these)
1 red pepper
2 large red chillies
1 large carrot
1 cucumber
handful raisins
I head garlic
a few slices of ginger.


Peel, destone and finely shred the papaya. Place in a bowl, and sprinkle with the salt. Let it sit for a minute or two, then place in a sieve and rinse off. Squeeze the papaya to remove as much as the moisture as you can. Set aside. Shred the cucumber and carrot, the pepper and the chilli (removing seeds and pith from the last two). Peel and finely slice the shallots. Mix all these together in a bowl, with the papaya and the raisins.

Put the vinegar and sugar in a large sauce pan with the slices of ginger. Slice the head of garlic horizontally in half, and add this too. Dissolve the sugar over a low heat, and then boil for 3-5 minutes. Allow to cool for 10 minutes. I discarded the ginger slices, but peeled and separated the cloves of garlic and included them in the pickle.

Put the shredded vegetables in a large jar and pour over enough of the pickling liquid to cover. Leave for 2 days before using.


Crispy Pata
1 pork hock
6 bay leaves
2 tbsp whole black peppercorns
4-6 star anise
teaspoons salt
2 teaspoons freshly ground black pepper
2 to 3 teaspoons garlic powder
12 to 15 cups water
8 to 12 cups cooking oil

Bring the water to the boil in a pan large enough to take the meat later.
Add the bay leaves, whole peppercorn, star anise and 4 teaspoons of the salt along with the pork hock. Simmer the meat until it is tender. The recipe I used suggested 45-60 minutes, I ended up cooking it for more like 2 hours.

Remove the pork hock and set aside to cool.Rub the leg with the ground pepper, garlic powder and remaining salt. Let it sit for at least 15 minutes.

Heat the oil in a large cooking pot with a lid. Don't use a pot without a lid, it is far too messy, and more importantly, dangerous to leave this uncovered.

Gently put the pork in the oil (to avoid splashing). Cover, and leave top crisp up on one side, then turn and cook the other side. This takes far longer than you would expect. The skin needs to properly crackle and blister before it is ready. When the skin is well browned and crunchy, it is ready.

Serve with the atcharang papaya and some plain rice.


Wednesday, 8 August 2012

Mini Jam Doughnuts

The last few weeks have been somewhat eventful, and while I have been keeping up with cooking, I have again neglected writing about it. I needed something to shake me out of this non-blogging phase, so I made proper jam doughnuts, something I have always wanted to try.
The deep frying makes the recipe sound complicated, but they are not really that hard. If you keep them small you don't have to worry about overcooking the outside and still having a raw-dough middle. If you don't want to faff about with putting the jam inside you could even just make plain doughnuts. I actually enjoy the process of making mini packages, finding the almost mindless work of filling and shaping relaxing. But maybe that's just me.
I uses Nigella's recipe, as is often my way. I did change it slightly, switching raspberry jam for strawberry (far superior, in my opinion), and adding a little nutmeg and cinnamon to the sugar.
One note- the amount of jam sounds tiny, like me, I am sure you will be tempted to add more. Any extra will make it impossible to close the dough around the jam and you'll end up frustrated (and sticky).


Ingredients
125ml milk
15g unsalted butter
250g bread flour
1/2 packet (1 1/2 teaspoons) easy blend or instant yeast
1/4 teaspoon salt

225g caster sugar
pinch ground nutmeg
1 egg
2 tablespoons raspberry jam
vegetable oil for deep-frying


Method
Warm the milk and butter together in a saucepan, taking it off the heat when the butter is melting. Put the flour, yeast, salt and 25g of the sugar in a bowl. Beat the egg into the warmed milk and butter and pour this into your bowl of dry ingredients, mixing it with a wooden spoon.

Either using your hands, or a dough-hook of a freestanding mixer, knead the dough until it is smooth and silky.Pat the dough into a round ball and put into a buttered bowl, covered in clingfilm and leave to rise somewhere warm, it should double in size and this could take 1-2 hours.

When it gets to that stage, punch the dough down and kneed again to make the dough smooth. On a lightly floured surface, roll the dough out to a 2cm thickness and cut out circles with a 4cm round cutter. You can re-roll the dough to make more circles. Make the dough circles into flatter rounds in your hands and then put an 1/8 teaspoon jam in the centre and fold in half and carefully roll it back into a a round ball shape. Sit the doughnuts on a baking sheet as you make the rest. Alternatively, you can do what I did and divide the dough into 16 pieces (halved 4 times), and using your palms, shape into a circle about 5cm. Add the jam, and gather up the edges to seal. Keep pinching the dough to make a smoothish sphere.


Heat the oil in a deep fat fryer or saucepan.If you're using a pan, the depth of oil should be about 3-4cm. Cook them in batches of 4-5 at a time, on a low heat. Each batch should take around 3 minutes, turn them over halfway.

While the first lot are cooking, mix the sugar and nutmeg on a plate. As soon as they are cooked, roll them in the spiced sugar and transfer to a plate or mouth.

Monday, 9 April 2012

Buffalo Wings


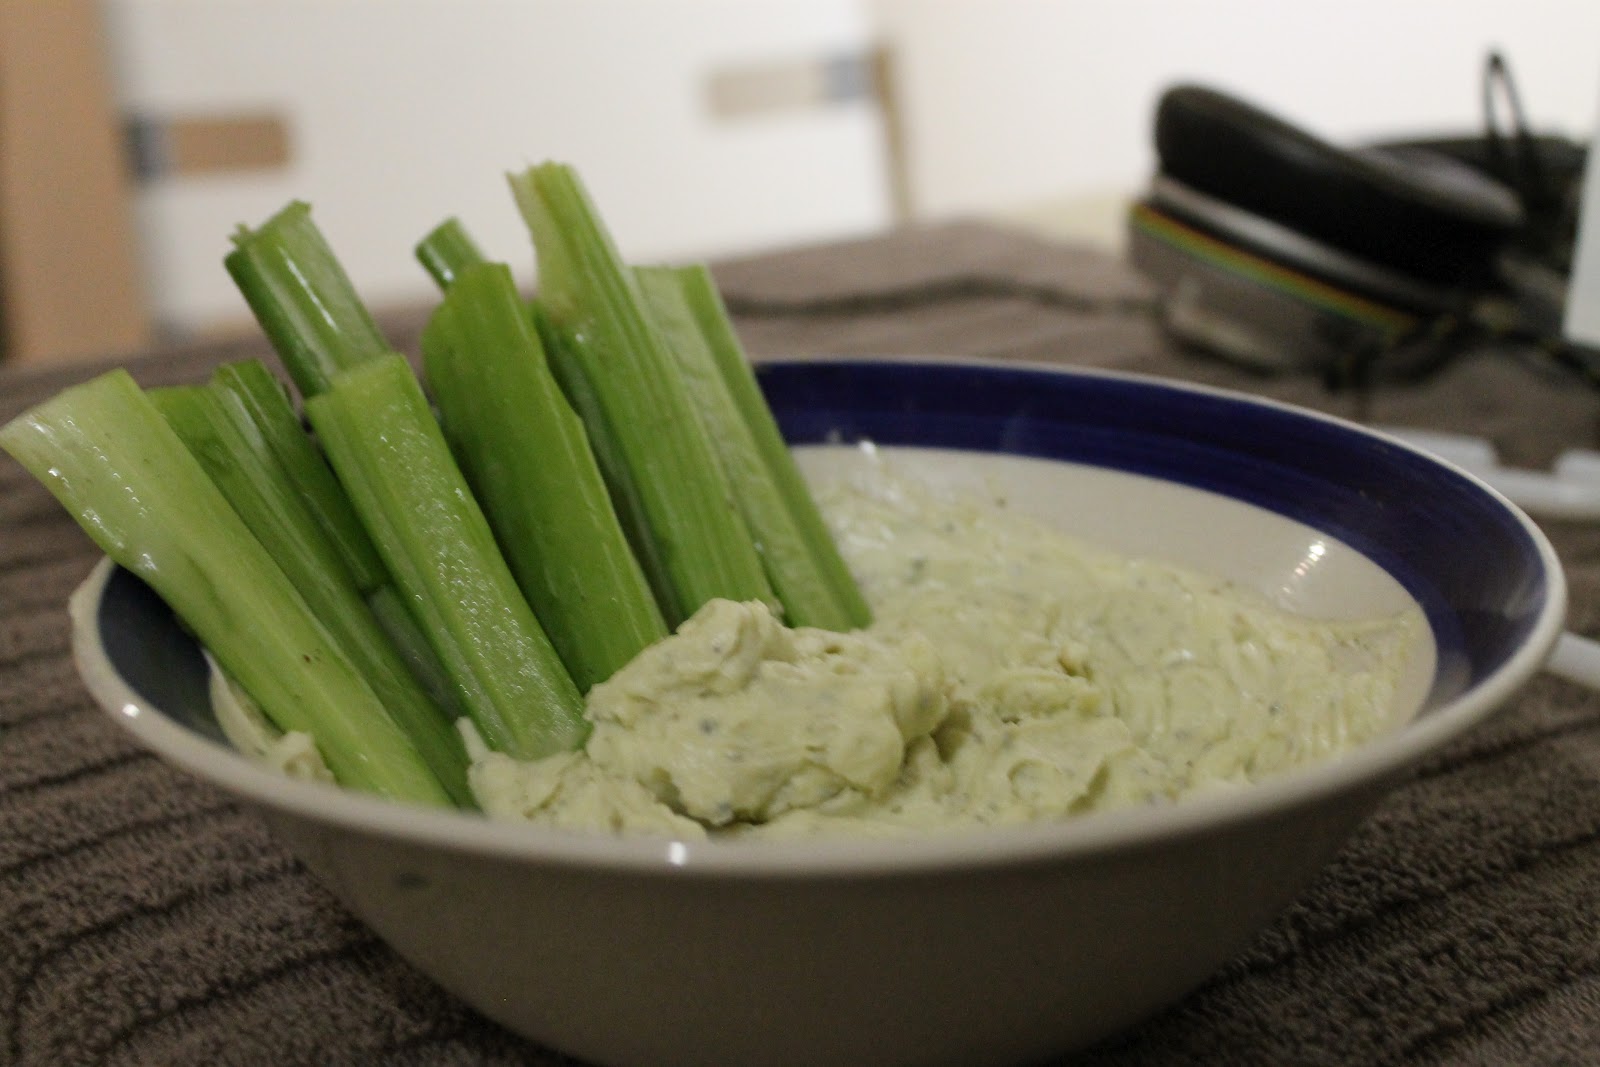
These are delicious, spicy, juicy, messy morsels to be eaten from a shared plate with your fingers. The sauce that turns fried chicken wings into buffalo is just butter, vinegar and hot sauce, but somehow it works. Alongside you have celery sticks and a blue cheese dip to cut through the richness. The leftover chicken flavoured oil is great used for the roux in gumbo.
Ingredients
1-1.5kg chicken wings
50g plain flour
1 heaped tsp salt
freshly ground black pepper
pinch cayenne
Vegetable/groundnut oil for deep frying
Sauce
4 tbsp unsalted butter
Hot sauce (Tabasco or otherwise). Start with 2 tbsps, add more to your liking.
2 tbsp red wine vinegar
Blue Cheese Dip
75-100g blue cheese
4 tbsp creme fraiche
1 tbsp olive oil
few drops red wine vinegar
1 tsp mustard powder
Celery sticks, to serve

Method
For the blue cheese dip- either mix all the ingredients in a blender, or mix by hand crushing the blue cheese with a fork. Put in the fridge until you are ready to eat.
Heat the oil in a large saucepan, put the oven on a low heat. Mix the flour, salt, pepper and cayenne in a large freezer bag. Put the chicken wings in the bag, and shake hard to coat. Deep fry in batches for 8-10 minutes until pale golden. Remove with a slotted spoon, keeping the cooked ones warm in the oven until they are all cooked. During the cooking time, melt the butter and stir in the hot sauce and vinegar. When all the wings are cooked, put in a bowl and coat with the sauce. Serve immediately with the celery and blue cheese dressing and some kitchen roll for chickeny fingers.

Monday, 23 January 2012

Friands, Fried not Baked.


I had a little batter left over from the sour cherry and orange friands made yesterday. The bonus of friands mix is that it can be made and kept in the fridge until you want to bake as it has no raising agent. Baked, the batter would have stretched to at most two, so (naturally) my thoughts turned to deep frying. They taste like little chewy almond doughnuts.

I've only done this the once, but I think the best course of action is to use the batter when it is fridge-cold, as at room temperature its very soft and probably would be difficult to handle. Heat some flavourless oil in a saucepan. The oil needs to be hot enough for the batter to form large bubbles when placed in the oil.Using two teaspoons, shape a teaspoonful of batter into a ball before putting straight into the pan. Repeat with the rest of the mix. Depending on how much mixture you have you have, and the size of your pan, you may have to do this in batches. It takes around 3 minutes, turn them over halfway through. Once they are golden, remove with a slotted spoon onto a plate lined with some kitchen roll. Dust with a little icing sugar, and eat as soon as they have cooled down enough.

Tuesday, 29 November 2011

Salt and Pepper Ribs

More delicious Chinese treats courtesy of Sunflower of Sunflower's Food Galore. If you are used to your ribs in a thick BBQ goo, try these. Sauceless, they are crispier and meatier, you just might want a little chilli sauce on the side for lubrication. I couldn't get ribs cut into short lengths, but if you can get your butcher to cut the ribs into halfs across the bone, or want to have a go with a meat cleaver yourself, your result will be more similar to the size Chinese restaurant ribs. This recipe involves deep frying, which can be a  good or bad thing depending on who you are. For me, this is an excellent thing, which is why I include them here.

Ingredients
3 tsp Sczechwan peppercorns
1 tsp black peppercorns
4 tsp salt
1kg pork ribs, cut into individual pieces.
groundnut or vegetable oil, for deep frying (lots)
2 red chillies, deseeded and chopped
4 cloves garlic, peeled and finely chopped
4 spring onions, finely sliced

Method
Toast both types of peppercorns in a dry frying pan until they release their scent. Crush finely with a pestle and mortar, and stir in the salt. Rub the ribs with the mixture (you won't need it all) and leave for about an hour out of the fridge. The remaining spice mixture can be kept for a few weeks in a tupperware box or similar.

When you are ready to eat. heat the oil in a saucepan. Deep fry in batches until browned and crispy, removing from the pan with a slotted spoon, blotting with kitchen roll to remove excess oil. Keep the cooked ribs warm in a low oven while you cook the rest.

Heat some oil in a frying pan and wok, and stir fry the chilli, garlic and spring onion. When just cooked and aromatic, sprinkle over the ribs, and eat.